Introduction
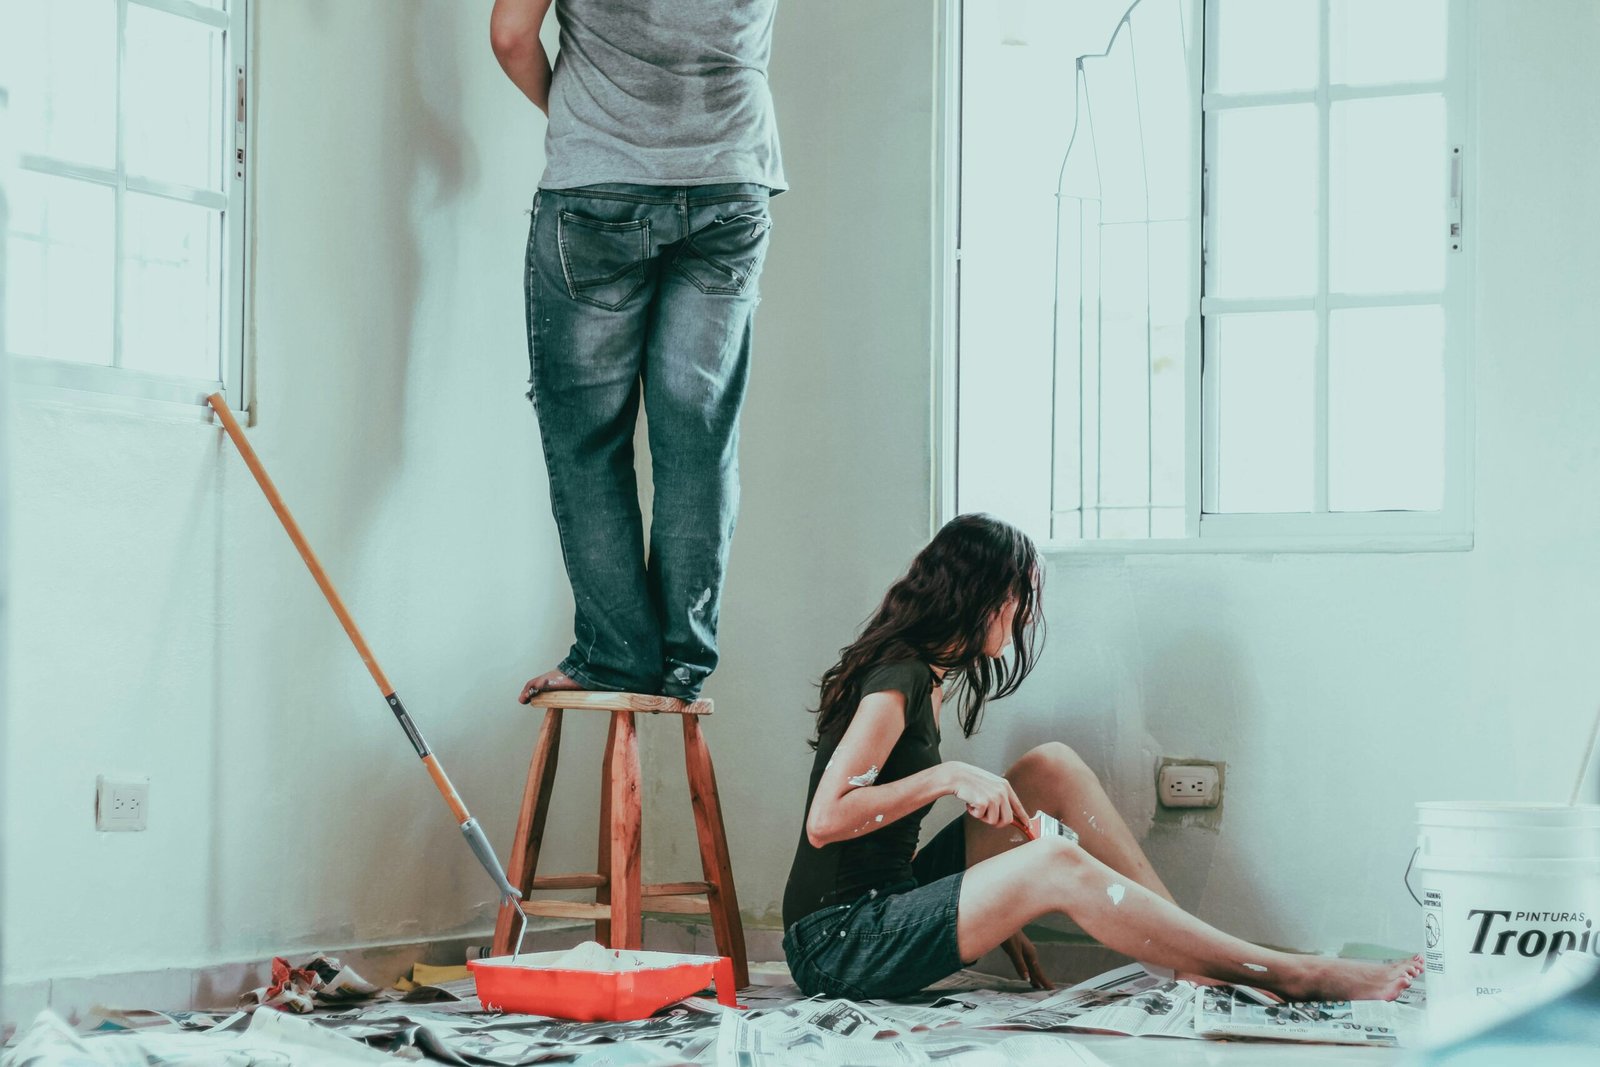
Are you looking to give your home a fresh new look but don’t have the time or budget for a complete makeover? Look no further than quick paint touch-ups! These small but mighty changes can transform a room and breathe new life into your space in just minutes. In this blog post, we’ll explore the power of quick paint touch-ups and how they can help you refresh your home.
Common Areas Needing Touch-Ups
Before we dive into the process of quick paint touch-ups, let’s identify some common areas in your home that may need a little extra attention. One of the most obvious places to start is the trim. Over time, trim can become scuffed or chipped, leaving your room looking worn and tired. A quick touch-up with some fresh paint can instantly revive the look of your trim and make it look brand new.
Another area that often needs touch-ups is the walls. Whether it’s a small chip or a scratch, these imperfections can be an eyesore and detract from the overall appearance of your room. With just a few strokes of paint, you can easily cover up these blemishes and restore the beauty of your walls.
Don’t forget about your furniture! If you have wooden furniture that has seen better days, a touch-up with some matching paint can work wonders. Whether it’s a scratch or a faded spot, a little bit of paint can make your furniture look as good as new.
Materials You’ll Need
Now that we’ve identified the areas that may need touch-ups, let’s talk about the materials you’ll need to get started. The good news is that you don’t need a lot of fancy tools or equipment. Here’s what you’ll need:
- Paint – Make sure you have the right color and finish for your touch-ups. If you’re unsure, take a small sample of your existing paint to a home improvement store and ask for a color match.
- Paintbrushes – Choose brushes that are appropriate for the size of the touch-up areas. A small brush for trim and furniture, and a larger brush for walls, should do the trick.
- Painter’s tape – This will help you create clean lines and prevent any accidental paint splatters.
- Sandpaper – If you’re working on furniture, you may need to sand down any rough spots before applying the paint.
- Drop cloth – To protect your floors and furniture from any paint drips or spills.
- Clean cloth – Use this to wipe down surfaces before painting to ensure a smooth application.
The Process
Now that you have all the necessary materials, it’s time to get started on your quick paint touch-ups. Here’s a step-by-step process to guide you:
- Clean the area – Before applying any paint, make sure the surface is clean and free of dust or dirt. Use a clean cloth to wipe down the area.
- Prepare the area – If you’re working on walls, use painter’s tape to mask off any adjacent surfaces that you don’t want to get paint on. For furniture, you may need to sand down any rough spots before painting.
- Apply the paint – Using your chosen brush, carefully apply the paint to the touch-up area. Start with thin layers and allow each layer to dry before applying the next one. This will help you achieve a seamless finish.
- Remove the tape – If you used painter’s tape, make sure to remove it while the paint is still slightly wet. This will prevent any peeling or chipping.
- Clean up – Once you’re done, clean your brushes and any other tools you used. Dispose of any leftover paint properly.
Conclusion
And there you have it – a quick and easy way to refresh your home in just minutes! By focusing on small paint touch-ups, you can transform the look and feel of your space without breaking the bank or investing a lot of time. So, grab your paintbrushes and get ready to give your home a fresh new look!