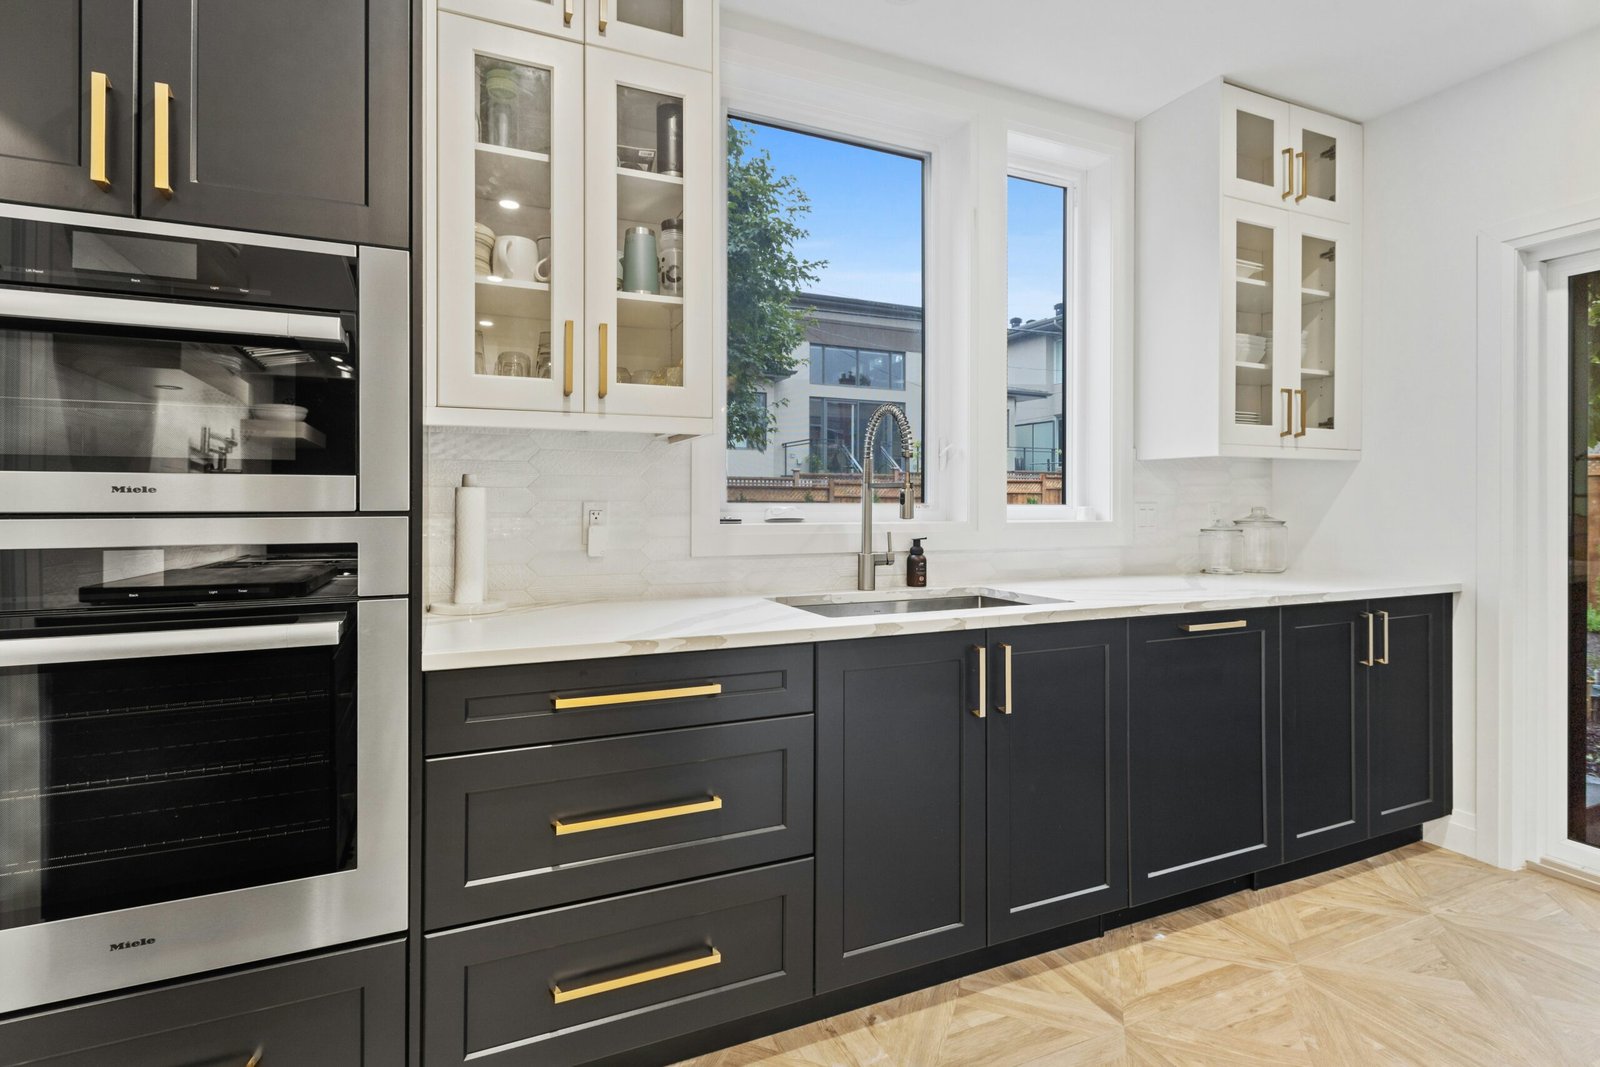
Introduction:
Are you tired of looking at your outdated kitchen cabinets? Do you dream of a modern, stylish kitchen without breaking the bank? Well, we have the perfect solution for you – a DIY cabinet hardware upgrade! By simply replacing your cabinet hardware, you can give your kitchen a fresh new look without the hassle and expense of a full renovation. In this blog post, we will guide you through the process of modernizing your kitchen with new cabinet hardware, and show you just how easy and cost-effective it can be.
Choosing Hardware:
The first step in your cabinet hardware upgrade is choosing the right hardware for your kitchen. When selecting hardware, consider the style and finish that will best complement your kitchen’s overall design. Whether you prefer a traditional, modern, or rustic look, there are plenty of options to choose from.
Style Guide:
Traditional: If your kitchen has a classic, timeless design, opt for hardware with intricate details and elegant shapes.
Modern: For a sleek and contemporary kitchen, choose hardware with clean lines and a minimalist design.
Rustic: If you want to add a touch of warmth and charm to your kitchen, consider hardware with a distressed or antique finish.
Finishes:
Once you have chosen the style that suits your kitchen, it’s time to select the perfect finish for your hardware. Popular finishes include brushed nickel, chrome, black, and bronze. Each finish has its own unique look and can dramatically change the overall appearance of your cabinets. Take into account the existing colors and finishes in your kitchen to ensure a cohesive and harmonious look.
Measuring Existing Hardware:
If you are replacing your existing hardware, it’s important to measure the hole spacing to ensure a proper fit. Most cabinet hardware follows standard measurements, but it’s always a good idea to double-check before making a purchase. Simply measure the distance between the center of one hole to the center of the next hole, and use this measurement when selecting your new hardware.
Tools:
Now that you have chosen your new hardware and measured your existing holes, it’s time to gather the necessary tools for the installation. Here are the tools you will need:
- Screwdriver or drill
- Measuring tape
- Pencil or marker
- Level
- Optional: Template for hole alignment
With these tools on hand, you are ready to begin your DIY cabinet hardware upgrade. In the next part of this blog series, we will guide you through the step-by-step process of removing the old hardware and installing the new. Stay tuned for more tips and tricks to transform your kitchen into a modern masterpiece!