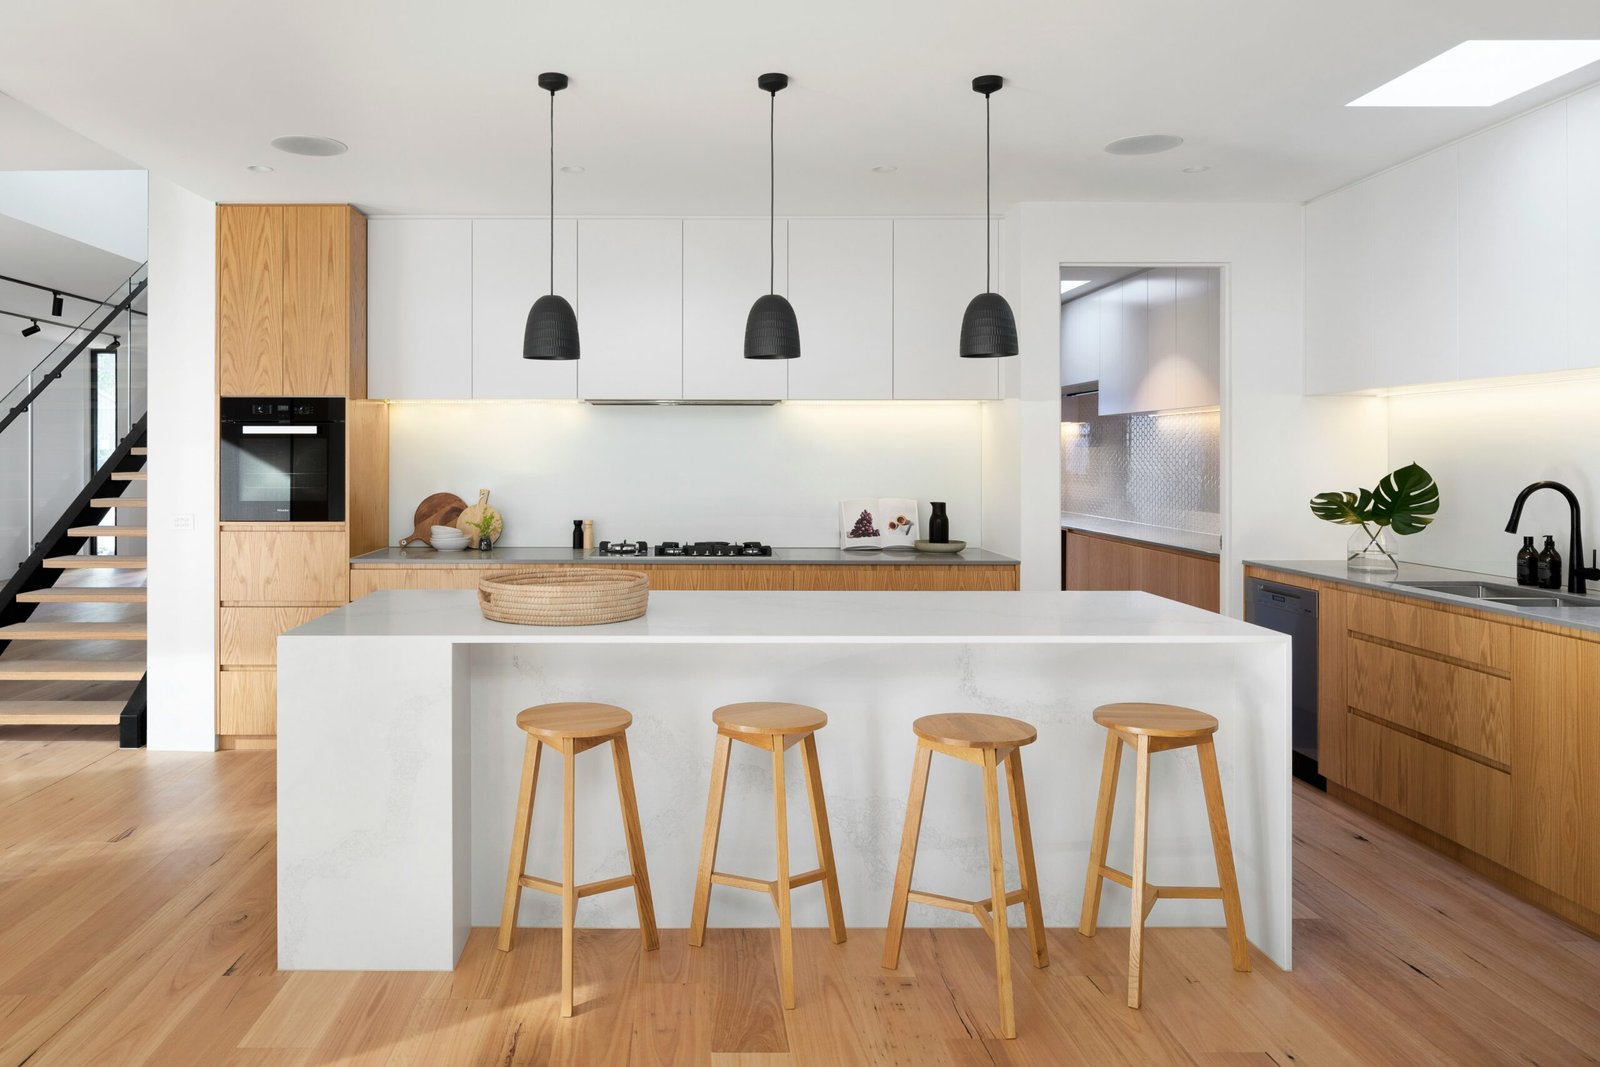
Want to give your kitchen a fresh new look without a full-blown renovation?
Renovating a kitchen can be a daunting and expensive task. But what if there was a way to transform your kitchen without breaking the bank or spending weeks on end with contractors? Enter the DIY backsplash update with peel-and-stick tiles. This easy and affordable solution allows you to make a big impact on your kitchen’s aesthetic with minimal time and cost.
Choosing Your Style
When it comes to peel-and-stick backsplash tiles, the options are endless. You can find tiles that mimic the look of ceramic or subway tiles, metallic finishes, natural stone, and even textured or 3D designs. The key is to choose a style that complements your existing kitchen and reflects your personal taste.
Material Options
Peel-and-stick backsplash tiles come in a variety of materials, each with its own unique characteristics. Ceramic or subway tile options offer a classic and timeless look, while metallic finishes can add a touch of modern elegance. If you’re looking to bring the beauty of nature into your kitchen, there are peel-and-stick tiles that mimic the appearance of natural stone. And for those who want to make a bold statement, textured or 3D designs can create a stunning focal point.
Design Considerations
Before diving into your DIY backsplash project, take a moment to consider the overall style of your kitchen. Do you want your backsplash to seamlessly blend in with the existing design, or do you want it to be a standout feature? Think about the colors, patterns, and textures that will best complement your space. Remember, the backsplash is an opportunity to add personality and character to your kitchen.
Tools You’ll Need
The beauty of using peel-and-stick tiles for your backsplash is that you don’t need a ton of tools or experience to get the job done. Here are the essential tools you’ll need:
- Measuring tape
- Straight edge or level
- Utility knife or scissors
- Marker or pencil
- Clean cloth
- Adhesive primer (if recommended by the tile manufacturer)
- Peel-and-stick tile sheets
- Rubber roller or squeegee
- Trim pieces (if desired)
Installation Steps
Now that you have your tools ready, it’s time to get down to business. Here’s a step-by-step guide to help you install your peel-and-stick backsplash tiles:
- Clean the wall: Before applying the tiles, make sure the wall is clean and free of any grease or debris. Use a mild cleaner and a clean cloth to wipe down the surface.
- Measure and plan: Measure the area where you want to install the backsplash and plan your layout. Use a straight edge or level to ensure your tiles will be installed straight.
- Prepare the tiles: If the tile manufacturer recommends it, apply an adhesive primer to the wall. This will help the tiles adhere better and ensure a long-lasting bond.
- Peel and stick: Peel off the backing of the first tile sheet and carefully place it on the wall, aligning it with your layout plan. Use a rubber roller or squeegee to press the tile firmly onto the wall, removing any air bubbles.
- Continue the pattern: Repeat the process with the remaining tile sheets, making sure to match the patterns and align the edges for a seamless look. Trim the tiles as needed using a utility knife or scissors.
- Finishing touches: Once all the tiles are in place, step back and admire your new backsplash. If desired, you can add trim pieces to complete the look and cover any exposed edges.
Enjoy Your New Kitchen
With your peel-and-stick backsplash tiles installed, you can now enjoy your refreshed kitchen. Not only did you save time and money with this DIY project, but you also added a touch of style and personality to your space. So go ahead, invite friends and family over, and show off your beautiful new kitchen backsplash!